eating out, nyc.

Longer Hollow Legs and I recently went on a jaunt to the Big Apple for a friend’s wedding – and of course, a little holiday.  Time away from home and its familiar tastes lends perspective, and I come home feeling incredibly grateful for the food and drink of my local boroughs.

Oh hai!
Oh hai!
A lunch in New Jersey
Journalling while lunching in New Jersey. I learned that broccoli salad should always contain bacon.
Manhattan from the Jersey side
Manhattan from the Jersey side. Who needs hobbies when you can people-watch?!
Longer Hollow Legs
Longer Hollow Legs, the best travel companion that my Legs could ask for.
Fish ok
Evidence of success garnered from the Hudson River.
A raccoon
This noble beast was carved into the side of a tree in Riverdale Park West in Toronto (our stopover to NYC). Mr. Raccoon was discovered after a lovely visit to Rooster Coffee House in Riverdale Park East.
Ferry ride
I realized that taking the ferry is a great way to get around…life lessons all over the place.
La Colombe in Soho
Alongside Blue Bottle Coffee (in Brooklyn), La Colombe (Soho) prepared some of the best coffee we had.
Tacombi at Fonda Nolita
Recommended by two trusted, well-fed friends (by which I mean they eat well, ahem), Tacombi at Fonda Nolita served delicate little tacos filled with fried fish, pork belly, la la la. Not to be missed is their watermelon juice – hubba bubba! We brought home a bottle of their dried chile de arbol sauce to relive the glory.
Hi Collar
Hi Collar in the East Village is a sliver of a cafe, serving delicate Japanese food, but more significantly for us, siphon coffee. Watching coffee prepared in this theatrical way is quite the treat!

Coming home is always bittersweet (like the best chocolate), but regardless it is underwritten with gratitude for being well fed with food, drink and experience.  The richness of it all inspires me to keep my eyes and heart open, and to see and appreciate things as they really are.

a stack of crepes.

In another life, I spent a summer waitressing at a crepe restaurant in cottage country.  This was a year or so after a crepe restaurant would open up on a very busy intersection in the city I grew up in, and a few years before I would move to a city where yet another crepe restaurant would open up.  Somehow, crepes have always been hovering around me, like a smack of jellyfish in the Pacific Ocean during a night-time dive.  Moreover, all these places have seemed to do well, notably without my patronage.  I enjoyed my time serving crepes, not because I thought they were particularly good, but I enjoyed the challenge of being perky while remembering who needs more coffee and balancing three plates on one arm.

So when a friend came over one Sunday afternoon, and the thought floated into my head that we should make crepes, I didn’t really realize its historical underpinnings.  Being a classical French recipe, we decided a good place to start would be my secondhand original edition of Elizabeth David’s French Provincial Cooking.  Alas, Mrs. David’s recipe was certainly from a different time; the way she listed the ingredients was thus: “2 large eggs, their weight (which will be 4 to 5 oz.) in butter, flour and sugar, and about 1/4 pint of milk, a tablespoon of rum, salt.”

In my crepe-starved state, I couldn’t wrap my head around this.  It sounds simple enough now, but the confusion due to low blood pressure in the moment was too great, and we sheepishly defected to a recipe from allrecipes.com – possibly the most polar opposite to Mrs. David’s refined and laid-back sensibility, but time was ticking before a full-on hunger tantrum would explode.

Regardless, the crepes we made were incredible and delicious – and easy to make!  Now I’m starting to see a glimpse into why a crepe restaurant would be so alluring to a potential restauranteur: a basic crepe recipe, multitudinous fillings, a dash of nostalgia and Parisian whimsy…a sweet and buttery dream.

dessert crepes

We filled ours with Nutella and strawberries, or peanut butter and bananas, scattered with sliced almonds.  The recipe made a substantial stack of crepes, so for the following days every breakfast consisted of a reheated crepe smothered in Nutella, folded into quarters, and eaten with my hands.  This ritual triggered the resurfacing of another buried memory: eating the most gargantuan crepe of Nutella and bananas while walking through the streets of Paris with my friends a few years ago, and feeling like I was going to throw up at 10 in the morning because it was so good I couldn’t stop.

Basic crepes

makes 8-20, depending on size

1 cup all-purpose flour
2 eggs
1/2 cup milk
1/2 cup water
1/4 tsp salt
2 tbsp butter, melted

Whisk everything together.  It might be a little lumpy, so let it sit for 30 minutes to let the lumps hydrate and soften and then whisk again.  Place a heavy frying pan (preferably non-stick) with low sides on medium-high heat.  Use a brush to apply a thin layer of butter on the bottom of the pan.  Pour about 1/3 cup of batter into the pan and immediately start swirling the batter around so it evens out across the pan.  Let it cook (3-5 min) until it is fully cooked on one side before confidently flipping with a spatula.  Stack on a plate until you are ready to fill.

crepes ready to be filled

hello, wild rice thing.

Spring is a tough time of year to dress for; I see people still wearing their winter parkas, while others are tottling around in t-shirts, baring their tender winter skin to the sun.  Similarly, it is hard to decide on what to eat: I’ve had my fill of slow-cooked stews and soups, but nibbling down some raw carrots doesn’t seem like quite enough either.

Instead, I settle on cooked salads: they are nourishing and satisfying, but not so heavy that I need to sleep for three hours in the afternoon.  This particular rendition used a butternut squash that had been saved from last summer’s harvest, which I felt was a fitting way to say farewell to the winter and make room for the upcoming season’s abundance.

cooked halves of butternut squash

Butternut squash and wild rice salad

1 butternut squash
1 cup dry wild rice, soaked overnight in cold water
1 small yellow onion
1 large handful button mushrooms
1.5 cups frozen green peas
1 large handful of fresh parsley
a few leaves of fresh mint
olive oil
1 lemon

Cut the squash in half and scoop out the seeds.  Place cut-side-down in a roasting pan that is at least 2 cm deep and pour in enough water to come up about 1 cm.  Roast in a preheated 375 F oven for about 20 minutes, or until a knife easily slides into the flesh.  Let cool before handling.  When you are able to touch the squash without squealing, cut off the skin and dice the flesh into small cubes.

Meanwhile, bring the wild rice to a boil in 3 cups of water.  Cover and turn the heat down so it simmers for 40 minutes or until tender.

When the rice is almost done, prepare the other vegetables: dice the onion and fry in a tablespoon of olive oil over medium-high heat in a frying pan or skillet.  Let it grow translucent and gain some colour.  While waiting for that to happen, roughly slice the mushrooms.  When the onions are soft and touched with brown edges, throw in the mushrooms and continue to cook until tender and caramelized.  Stir in the green peas until just heated through.  Remove from heat.

In a large bowl, add everything together: the diced squash, the cooked wild rice, and the veggies.  Roughly chop the parsley and mint and add those as well.  Squeeze over the juice of the lemon and add a few glugs of olive oil.  Toss and taste, adding enough salt to your liking.  I like eating this at room temperature, but eating it warm is pretty good too.  If I had some feta cheese I might also crumble that over….hm, perhaps next time.

wild rice salad w/ butternut squash and stuff

sweet potato and quinoa veggie burgers.

sweet potato quinoa veggie burgers

Sweet potato and quinoa veggie burgers.  Meatless, high in fibre, and gluten-free!  Could you get any more righteous???

Don’t worry, I smeared Kraft mayonnaise and store-bought relish on top – keepin’ it real, yo.

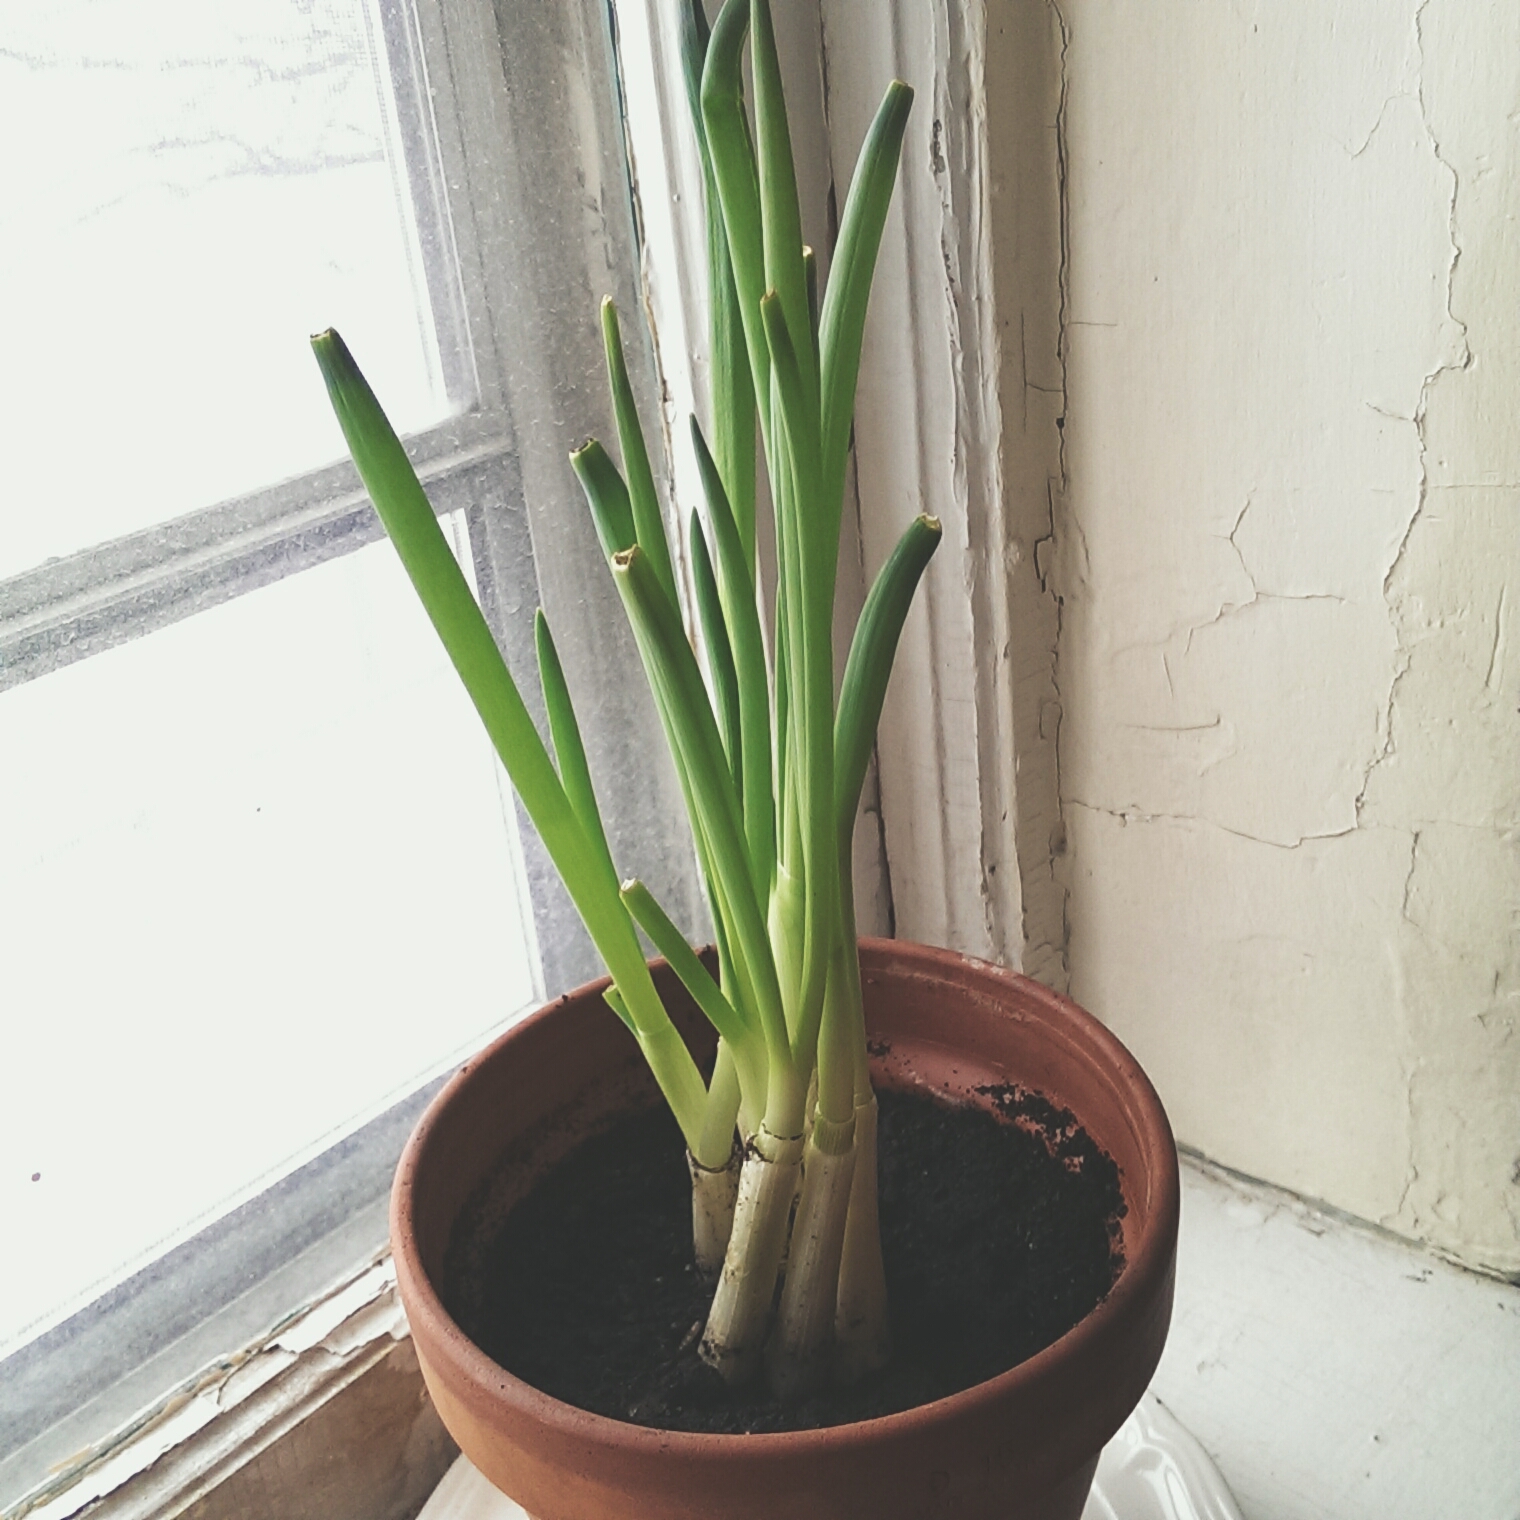
But then I garnished it with homegrown alfalfa sprouts.  Also keepin’ it real…?!

This recipe was based off of one by Saer Richards in The Kinfolk Table.  Motivated by an urge to reduce clean-up requirements and to avoid going grocery shopping (i.e., laziness), my version is a little different.

Also, I’m going to call them croquettes, because frankly I feel they are too starchy to eat between slices of bread – starch sandwiched within starch is a little over the top, even for a bread lover like me.  Hence I ate the little patties on top of a salad dressed with lemon juice and olive oil.

Ta DA!

Sweet potato and quinoa croquettes

1 lb sweet potatoes
1/2 cup quinoa
1 clove garlic, minced
1 tsp each coriander seeds, cumin seeds, sesame seeds
1 cup corn meal (plus more for coating)
1 handful green beans, chopped small
2 celery stalks, diced small
1 handful chopped parsley

Cut the sweet potatoes into large chunks and drop them into boiling water.  Boil until tender.  Drain and let cool slightly before mashing or pulsing in a blender.

Meanwhile, simmer the quinoa in 1-1/4 cups water.  When there is just a little bit of water left, throw in the garlic, spices and sesame seeds.  Cover and turn off the heat.  Let the quinoa sit to absorb the remaining water and to soften the spices.

In a large bowl, mix together the mashed sweet potato, quinoa, and 1 cup of corn meal.  Rinse out the pot that the sweet potatoes were boiled in and then heat a glug of olive oil in it over medium-high heat.  Drop in the green beans and celery, and cook until soft.  Throw in the parsley and stir to wilt.  Add the veggies to the sweet potato-quinoa-corn meal mixture and stir until homogeneous.  Adjust seasoning with salt and pepper.

The patties will hold their shape better if they are left to firm up overnight in the fridge.  So plan ahead, or be prepared to eat croquette-mush.

When you are ready to fry, scoop out generous one-tablespoon blobs of the mixture and shape into patties 1/2-3/4″ thick.  Dredge both sides in corn meal and fry with vegetable oil in a non-stick skillet over high heat.  I also mixed in a few extra sesame seeds with the corn meal for extra fun.  Serve how you like.  This would be a nice thing to bring to a summer backyard BBQ to accompany the meat (and satisfy the vegan-heads), perhaps with a peanut sauce, oh yeah.

thank you cookies.

As I get older, I slowly begin to accept myself for being how I am.  Accept, and then mitigate, because even though I am allowed to be flawed, it would still be nice to have company.  In order to make up for my lacks in social grace, I thrust my cooking and baking on my friends.  I figure if their bellies are happy and mouths full, they won’t mind hanging out with me.

Moreover, baked goodies are a great way to reciprocate the generosity of others – hence the creation of this particular batch!  I used to make cookies with reduced butter and sugar in an effort to make them healthy, but I have since embraced them as a pleasure that should be left alone.  The best cookies I have made have a 1 to 2 to 1.5 volume ratio of butter, sugar and flour.  With this magical set of numbers, I let the fairies living in the kitchen walls guide me into whipping together these ginger cookies.  With their blessings, the cookies not only came out beautifully, but they have an added twist of being speckled with black sesame seeds, and some rye flour for a heartier backbone.  Next time I might even try making them with only rye flour, so I can somehow justify eating them for breakfast.

Ginger black sesame rye cookies

makes about 2 dozen

1 cup butter, room temperature
1-1/2 cups white sugar
1/3 cup molasses
1 egg
1 tsp vanilla brandy*
1 cup all-purpose flour
1/2 cup rye flour
1-1/2 tsp dried ginger
1/4 tsp cinnamon
1/8 tsp nutmeg
about 2/3 cup black sesame seeds
optional: a small handful of little bits of crystallized ginger

*Vanilla brandy can be made by infusing brandy with vanilla beans!  It is a pretty awesome and cheap thrill to make your own vanilla extract, but of course you can use regular store-bought vanilla extract.

In a large mixing bowl, use a wooden spoon to cream together the butter and sugar until it is light and fluffy.  Add the molasses, egg and vanilla brandy.  Beat until smooth.  Add the flours and spices, and the crystallized ginger if using.  Beat until incorporated.  Cover the bottom of a small plate with the sesame seeds.  Roll a teaspoon of dough in your palms to make a ball, and dip one side (does a sphere really have a side?  Um…well I think you get the idea…) of the ball into the seeds and place seed-side-up on a baking sheet lined with parchment paper.

making ginger cookies

Continue until the baking sheet is full, leaving at least 2″ of space between the balls of dough.  Do not flatten the dough!  Bake in a preheated 350 F oven for 10-12 minutes, until the cookies look dry and are lightly browned on the edges.  Let them cool for 5 minutes on the baking sheet, and then transfer to a plate.

If the dough spreads too quickly, then refrigerate the dough for at least 30 minutes and then proceed again.

cookies!

These were delicious – chewy fresh out of the oven, then getting a little crispy the next day, perfect for dipping into milk or tea.  Written testimonial from recipients: “Are [sic] 3 already…Yay” – I have a strong hunch that the misspelling and lack of punctuation were because they were busy eating and couldn’t text properly, which pretty much sums it up.

COOKIES!!!